Introduction to Sourdough Challah
Sourdough challah is a beautiful fusion of tradition and innovation, bringing the richness of the classic challah loaf together with the tangy depth of sourdough. This unique bread has gained popularity among home bakers and professionals alike. But what sets it apart, and why should you give it a try?
The history of challah bread is steeped in cultural significance. Traditionally, challah is a Jewish braided bread, often enjoyed during Sabbath meals and holidays. Its golden crust and soft interior symbolize blessings and abundance. Adding a sourdough starter to this timeless recipe creates a transformative flavor profile, blending sweet and tangy elements seamlessly.
But why choose sourdough challah over the more conventional yeast-raised variety? For one, the fermentation process of sourdough offers numerous health benefits. It improves digestibility and enhances nutrient availability. Additionally, the natural fermentation imparts a distinct flavor unmatched by commercial yeasts. Not to mention, sourdough’s prolonged fermentation reduces phytates, making nutrients in the flour more bioavailable.
Combining the robust flavors of sourdough with the soft, slightly sweet nature of challah creates a bread that transcends the ordinary. Whether you’re an experienced baker or new to sourdough, this guide will walk you through every step of making your own sourdough challah masterpiece.
Ready to explore the art of this extraordinary bread? Let’s delve into the essentials!
Understanding the Basics of Sourdough
Before diving into sourdough challah, it’s crucial to understand the foundation: sourdough itself. So, what exactly is sourdough? Simply put, it’s a natural leavening method that relies on fermentation. Flour and water are combined to cultivate wild yeast and bacteria, which together create a vibrant, living sourdough starter.
The benefits of a sourdough starter are profound. First, the lactic acid bacteria in the starter produce organic acids, giving sourdough its signature tang. Second, the fermentation process makes bread easier to digest by breaking down gluten and complex carbohydrates. Lastly, sourdough is packed with flavor and even has a longer shelf life compared to regular bread.
To begin your sourdough baking journey, having the right tools makes all the difference. Essential equipment includes a kitchen scale for precise measurements, a bench scraper for dough handling, and a banneton basket for proofing. You’ll also need a sturdy stand mixer for mixing and kneading, as well as a quality baking sheet or Dutch oven for even heat distribution.
Good to know: mastering sourdough basics is the foundation for flawless sourdough challah. With the right approach and tools, you’ll transform raw ingredients into an unforgettable loaf.
Key Ingredients for Sourdough Challah
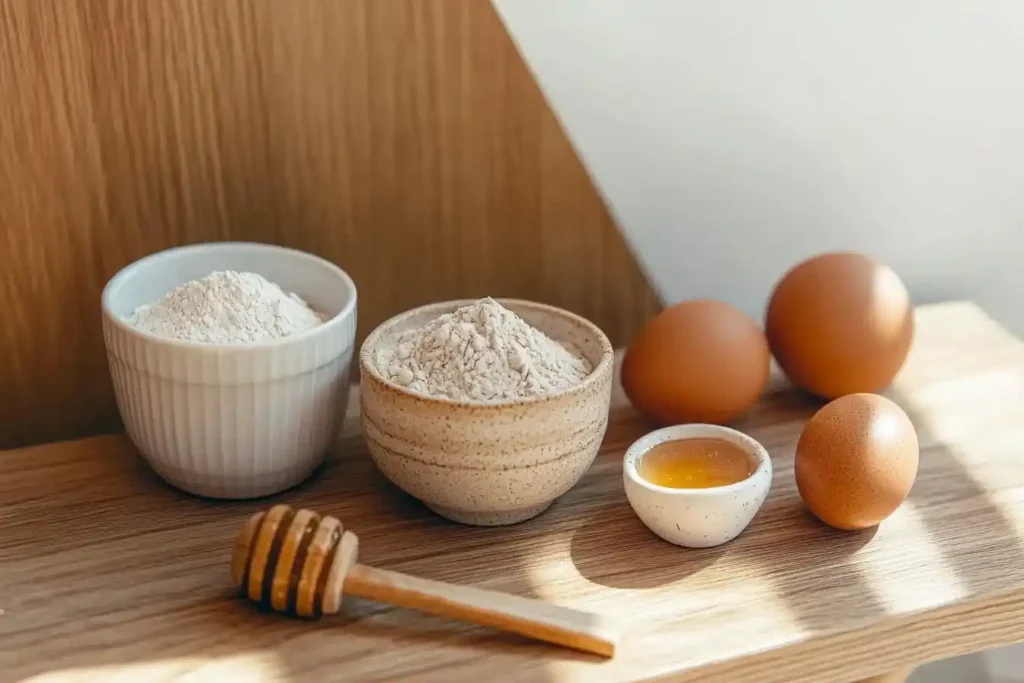
Creating sourdough challah requires thoughtful ingredient selection to achieve the perfect taste and texture. Start with flour, the backbone of any bread. For challah, a mix of all-purpose and bread flours works exceptionally well. However, you can experiment with whole wheat or even spelt for a more rustic twist.
Water is another critical element. While seemingly simple, the quality of water affects fermentation. Always use filtered or purified water to ensure your dough ferments correctly.
Sourdough challah also incorporates eggs for richness and structure. Be sure to use fresh, room-temperature eggs to ensure uniformity in your dough. Sweeteners, such as honey, maple syrup, or sugar, add the characteristic sweetness of challah without overpowering the sourness of the starter. Finally, a pinch of salt enhances flavor and regulates fermentation.
To personalize your bread, you can incorporate optional add-ins. Popular choices include sesame seeds or poppy seeds for a traditional look, while more adventurous bakers experiment with dried fruits, chocolate chips, or nuts for a modern twist. The possibilities are endless.
With these thoughtfully chosen ingredients, you’re one step closer to creating a loaf of sourdough challah that strikes the perfect balance between flavor and texture.

Preparing Your Sourdough Challah Starter
Your journey to sourdough challah starts with an active, healthy sourdough starter. If you don’t already have one, fortunately, making your own is straightforward. To begin, simply mix equal parts whole wheat flour and water in a clean jar. After thoroughly stirring the mixture, let it sit at room temperature. Subsequently, over the next 5-7 days, you’ll need to feed your starter daily by initially discarding half of the mixture and then replenishing it with fresh flour and water in the same ratio.
Once your starter is bubbly and doubles in size within a few hours, it’s time to bake. Maintaining your starter is equally important. Feed it regularly—every 24 hours if kept at room temperature or weekly if stored in the fridge. Regular feedings ensure your starter stays active and ready for use when inspiration strikes.
Sometimes, sourdough starters encounter issues such as a sluggish rise or unpleasant odors. Don’t worry; these problems can often be resolved. For instance, giving your starter an additional feeding or adding a pinch of whole wheat flour can jumpstart the fermentation process. Additionally, always ensure proper hydration levels in the jar.
Understanding and maintaining a sourdough starter might seem daunting at first, but with a bit of care and attention, it will become a reliable companion in your baking adventures.
Step-by-Step Sourdough Challah Recipe
Making sourdough challah at home might seem like a challenge, but with a well-defined process, it becomes an exciting baking adventure. Follow these steps for soft, flavorful challah with just the right hint of tang from sourdough.
Mixing the Dough
Start by weighing all ingredients for accuracy. Combine your active sourdough starter, flour, eggs, water, sugar, and salt in a large mixing bowl. Mix gently until everything is cohesively incorporated. At this stage, the dough will feel sticky—this is normal.
Gradually knead the dough on a clean surface or use a stand mixer with a dough hook attachment. This step develops gluten, giving the challah its signature soft structure. Mix until the dough becomes smooth and elastic, which usually takes about 10–12 minutes by hand.
First Rise: Bulk Fermentation
Place the kneaded dough in a lightly greased bowl, cover it with a damp towel, and let it rest for 4–6 hours. The bulk fermentation is one of the most critical stages in sourdough challah baking. During this time, the dough will double in size as the sourdough starter ferments slowly.
If your kitchen is cooler, the rise may take longer. In a warmer kitchen, keep a close eye to avoid over-proofing. Turning the dough once or twice mid-way can further promote even fermentation.
Shaping the Challah
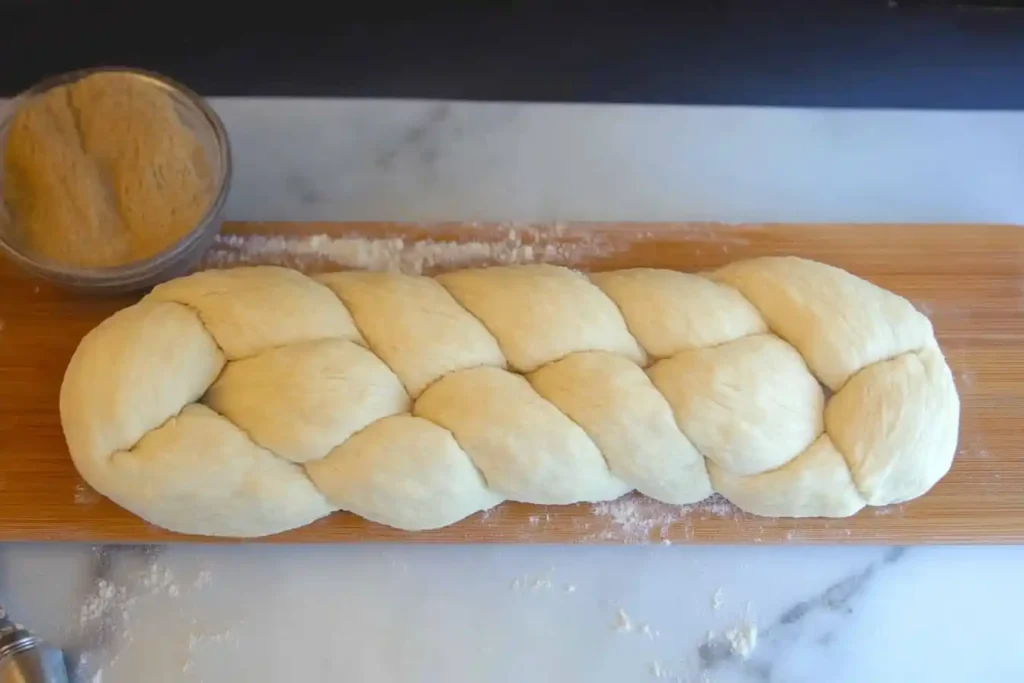
Once the dough has completed its initial rise, transfer it to a clean surface. Divide the dough evenly into three, four, or even six portions, depending on the braid style you prefer. Roll each portion into thick, uniform strands.
Braid the strands carefully while keeping tension firm but even to prevent the braid from unraveling during baking. Tuck the ends securely under the loaf for a polished appearance.

Second Rise: Proofing
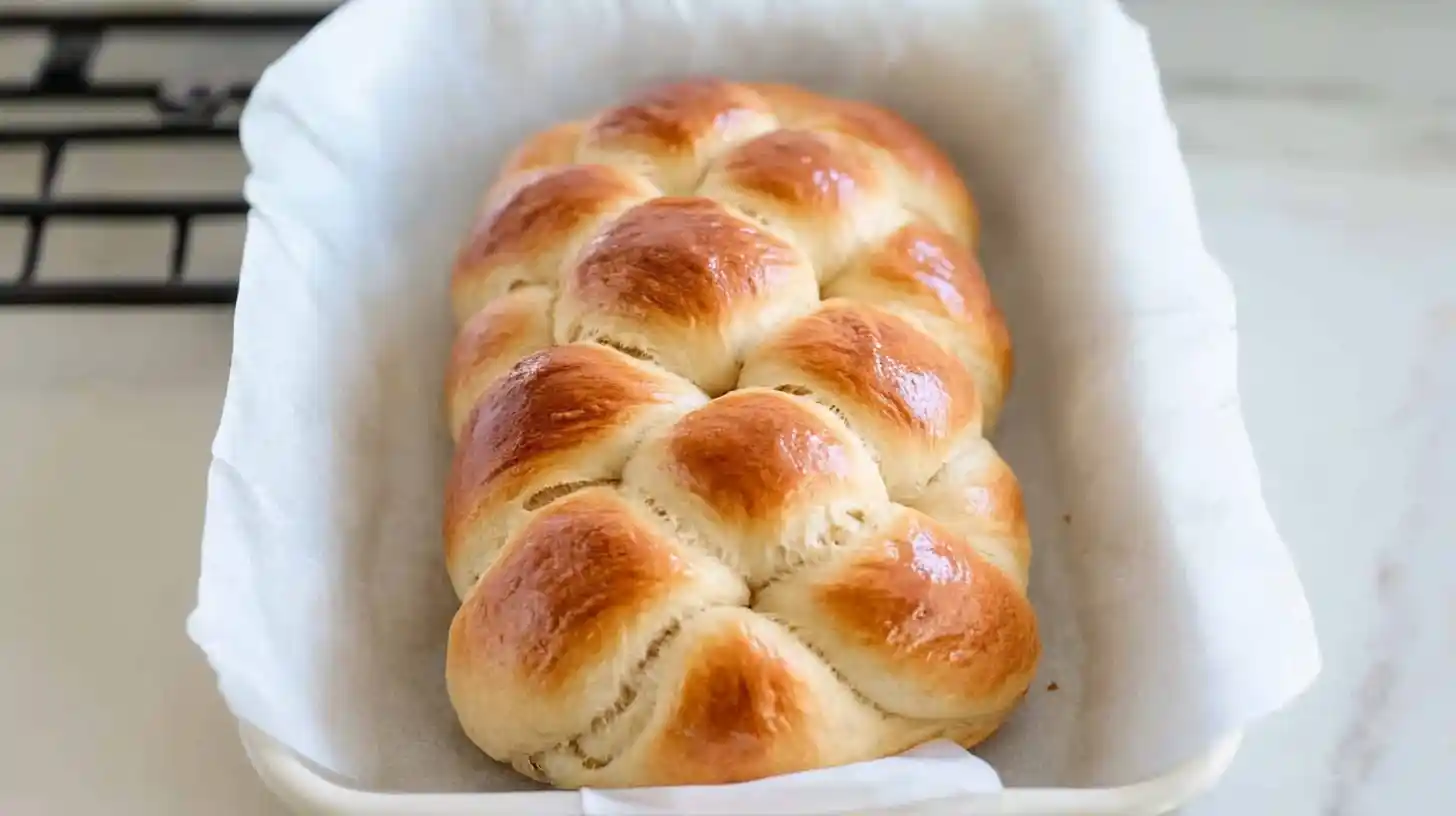
Transfer the braided loaf to a parchment-lined baking sheet and let it proof for another 2–4 hours, or until it becomes visibly puffy. A well-proofed challah should gently spring back when pressed lightly with a finger.
During proofing, preheat the oven to 375°F (190°C). Carefully brush the loaf with an egg wash before baking for that glossy finish.
Baking to Perfection Sourdough Challah
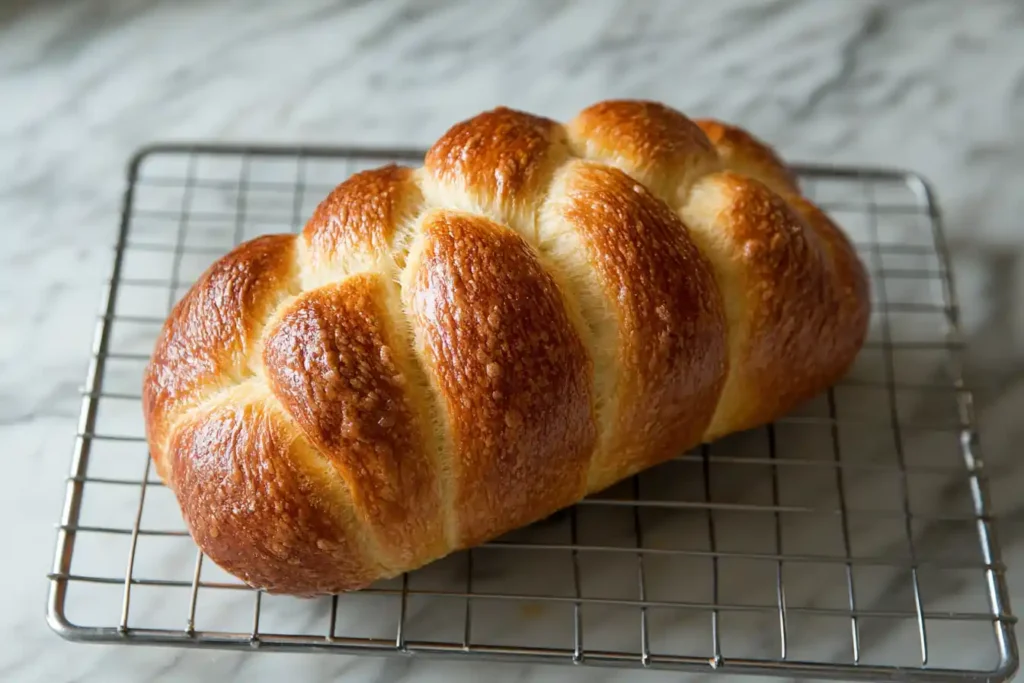
Once the oven is fully preheated, carefully place your loaf inside and bake for approximately 25-30 minutes. Then, halfway through the baking process, be sure to rotate the baking sheet to promote even browning throughout. When done correctly, the final result should be a beautifully golden brown loaf with a slightly crisp crust, while the interior remains wonderfully soft and airy.
Remove from the oven and allow it to cool on a wire rack before slicing. Your homemade sourdough challah is now ready to enjoy!
Tips for Perfect Sourdough Challah
Even experienced bakers encounter challenges, but with a few essential tips, you can perfect your sourdough challah. These insights will help your baking outcome improve every time.
Achieving the Right Dough Consistency
Pay attention to the dough’s texture. It should be soft yet manageable. If it feels too sticky, add flour a tablespoon at a time, but avoid overloading it. A higher hydration dough ensures a lighter and airy crumb, making it worth the effort.
Mastering the Braiding Technique
Braiding may take practice, but it’s easier than it looks. Start with a simple three-strand braid if you’re a beginner. Gradually upgrade to more intricate braids for a decorative touch. Maintain even tension throughout the braid for a symmetrical loaf.
Maintaining Consistent Fermentation
Fermentation hinges on temperature. For optimal results, keep your dough in a spot that’s consistently warm. If your kitchen is cold, consider using your oven with just the light on as a proofing box. A slow, consistent fermentation enhances texture and flavor.
Avoiding Common Mistakes for Sourdough Challah
Don’t rush the process. Whether it’s under-kneading, under-proofing, or overbaking, hurrying can compromise the final product. Give the dough enough time to rise and develop its full potential.

Variations of Sourdough Challah
If you’re looking to spice up your sourdough challah, there are plenty of ways to customize the recipe. These variations allow you to experiment with flavors and textures tailored to your liking.
Sweet vs. Savory Challah
Adding a touch of honey or sugar enhances the loaf’s natural sweetness, complementing its tangy sourdough flavor. On the other hand, savory versions can include herbs, garlic, or even cheese for a bold, unique taste.
Adding Seeds and Toppings
Poppy seeds, sesame seeds, or everything bagel seasoning can elevate your loaf’s appearance and crunch. Consider sprinkling seeds on top after applying the egg wash for extra texture.
Incorporating Fruits and Nuts
Dried fruits like raisins, cranberries, or apricots can be kneaded into the dough for a sweet twist. For added crunch, mix in chopped walnuts, pistachios, or almonds. These elements create a wholesome, festive loaf.
Whole Wheat and Alternative Flours
Experimenting with different flours, like spelt or rye, adds depth to the loaf’s flavor profile. Keep in mind that denser flours may adjust the water ratio slightly. Whole wheat sourdough challah can be a healthier alternative while maintaining flavor.
- Sweet options: cinnamon-sugar swirls or chocolate chips.
- Savory options: onion flakes or sun-dried tomatoes.
- Textural toppings: coarse sea salt or toasted oats.
Sourdough Challah Versus Traditional Challah
The debate between sourdough challah and traditional challah boils down to the flavor, health benefits, and baking process. Understanding their differences can help you decide which suits your preferences best.
Comparison of Ingredients
While traditional challah uses commercial yeast, sourdough challah relies on a natural starter for fermentation. The latter creates a more complex flavor profile thanks to the natural acids and wild yeast present.
Flavor and Texture Differences
Sourdough challah tends to have a slight tang and a chewier texture. Traditional challah, on the other hand, is purely sweet with a softer crumb. Both are delicious, but the sourdough version offers a layered taste experience.
Sourdough Challah: Health Benefits Comparison
Sourdough challah offers more digestibility and nutritional perks due to the fermentation process. It breaks down phytic acid in the grain, making minerals more accessible. The lower glycemic index is another bonus, making it a healthier staple for many.
Storing and Freezing Sourdough Challah
Once you’ve baked your delicious sourdough challah, proper storage ensures it retains its texture and flavor. Whether you’re keeping it for a day or several weeks, following the right methods will make a big difference. Transitioning from freshly baked to well-preserved bread is critical to enjoying it long-term.
How to Properly Store Fresh Challah
Sourdough challah remains soft and fluffy for up to two days at room temperature when stored correctly. Always allow the loaf to cool completely before storing it; otherwise, residual steam can make the bread soggy.
- Place the challah in a breathable paper bag for short-term storage to prevent condensation.
- For longer freshness, transfer it to a resealable plastic bag or wrap it tightly in plastic wrap.
- Store it in a cool, dry place, away from direct sunlight, to maintain the perfect crust and crumb.
Freezing Tips for Long-Term Storage
If you don’t plan to consume the challah within a few days, freezing is a fantastic option. Proper freezing methods ensure it retains its flavor and moist texture even after weeks.
- Slice the bread before freezing, so you can defrost individual slices as needed.
- Wrap the challah tightly in aluminum foil or plastic wrap to avoid freezer burn.
- Place the wrapped bread in a heavy-duty freezer bag for extra protection against frost.
Reheating Techniques
When you’re ready to enjoy your frozen sourdough challah, reheating it properly brings it back to life. To maintain its soft interior and golden crust:
- Defrost it at room temperature before reheating for best results.
- Reheat the bread in an oven preheated to 350°F (175°C) for about 10-12 minutes if whole. For slices, 3-5 minutes does the trick.
- Optionally, brush the crust with water or butter before reheating for extra softness or enhanced flavor.
By utilizing these storage and freezing techniques, you’ll always have a delicious slice of sourdough challah ready whenever you crave it.
Suggested Image Prompt:
A vibrant image of freshly baked sourdough challah, with one loaf stored in a paper bag on a countertop and another prepared for freezing with plastic wrap and labeled freezer bags beside it.
Frequently Asked Questions
It’s common to have questions when baking sourdough challah, especially if this is your first time. Below are answers to some frequently asked questions to guide you through your journey.
Sourdough relies on natural fermentation from a starter, offering a tangy flavor and improved digestibility. Traditional challah uses commercial yeast, resulting in a sweeter and more uniform bread.
Absolutely! By combining a sourdough starter with the classic ingredients of challah, you achieve a perfect blend of tangy flavor and airy sweetness. Adjusting the timeline for fermentation is key.
The time varies based on temperature and starter activity. On average, sourdough challah requires 6-8 hours for the first rise and 1-2 hours for proofing.
There are endless possibilities! Incorporate sesame seeds, dried fruits like raisins, or even milk and honey for added flavor. Each variation brings a unique twist to this classic bread.
Yes, sourdough challah freezes exceptionally well. Slice and package it correctly before freezing for the best results. Follow the tips in Section 9 for guidance.
By addressing these questions, you’re better equipped to tackle common challenges and personalize your baking experience.
Troubleshooting Common Issues
If your sourdough challah doesn’t turn out as expected, don’t worry! Baking with sourdough can be unpredictable, but recognizing the issues helps in avoiding them in the future.
Dense or Heavy Challah
A dense loaf often results from underdeveloped gluten or insufficient proofing. Ensure you knead the dough long enough to achieve a stretchy, smooth consistency. Additionally, allow for adequate rising time in a warm environment.
Cracked or Uneven Crust
This typically occurs when the dough dries out during proofing or the oven is too cool. Cover the dough with a damp kitchen towel or plastic wrap during the second rise. Preheat the oven thoroughly before baking for even heat distribution.
Flat or Under-Risen Challah
If your challah doesn’t rise as expected, the sourdough starter might not be active enough. Feed it more frequently in the days leading up to baking to ensure its strength. Gentle handling during shaping can also prevent deflation.
By addressing these common errors, you’ll refine your technique and achieve consistent results every time you bake sourdough challah.
Enhancing Your Baking Experience
The art of baking sourdough challah becomes more enjoyable when you explore additional resources and experiment with new ideas. Here’s how you can take your bread-making skills to the next level.
Explore More Recipes on Our Site
- Sourdough Blueberry Muffins
- Sourdough Scones Recipe
- What Not to Do with Sourdough
- Sourdough Bread Basics (AllRecipes)
By accessing expert advice and experimenting with different recipes, your sourdough challah baking skills will continuously improve, making every loaf more special.

