Introduction to Sourdough Baking
Sourdough baking is an age-old practice that has resurged in popularity, especially among home bakers. Its origin dates back thousands of years, and its unique fermentation process makes it stand out from other bread types. With its tangy flavor and chewy texture, sourdough bread offers both a culinary and sensory delight, attracting beginners and seasoned bakers alike.
To achieve perfectly baked sourdough, mastering the proper techniques is crucial. Mistakes can lead to flat, dense, or overly sour results, discouraging many bakers. Therefore, understanding what not to do with sourdough can significantly improve your success rate. When you use correct procedures, the rewards are deliciously worth the effort. Additionally, avoiding common mistakes will help preserve the health of your sourdough starter and enhance the bread’s final quality.
This article will explore some of the most frequent missteps in sourdough baking and how to avoid them. From mishandling your starter to incorrect proofing times, we’ll cover every critical aspect. Whether you are just starting or looking to refine your skills, these tips will put you on the path to sourdough success.
Understanding Your Sourdough Starter
Your sourdough starter is the heart and soul of your bread. This living culture of wild yeast and lactic acid bacteria provides the fermentation power needed for sourdough’s signature flavor and texture. Proper care and feeding of your starter are critical to achieving consistent results in your baking.
One of the most common mistakes bakers make is not feeding their starter regularly. Like any living organism, your starter needs consistent nourishment to survive and thrive. Skipping feedings, especially during warmer months, can lead to weak fermentation or a starter that won’t rise properly. It’s also essential to observe health signs, such as a foul smell or discoloration, which may indicate contamination or neglect.
Another oversight is ignoring the balance of flour and water in starter feedings. Adjusting hydration levels to suit your specific climate and recipe is vital for maintaining an active culture. Ensuring your starter is bubbly and doubles in size within a few hours is a sign it’s ready for baking.
Incorrect Hydration Levels
First and foremost, tip-top hydration levels are essential for crafting sourdough with the perfect crust and crumb. Specifically, the term “hydration level” refers to the ratio of water to flour in your dough. As a result, each recipe may call for different hydration levels depending on the desired texture.
What not to do with sourdough starts with understanding hydration mistakes. Overhydrating your dough can make it too sticky and nearly impossible to handle. On the other hand, underhydrating can result in a stiff, dry dough that won’t rise properly. Maintaining the right hydration level plays a crucial role in dough elasticity and fermentation activity.
To address this, always measure your water and flour accurately using a kitchen scale. If your dough feels excessively wet or dry, adjust incrementally during mixing. Using visuals is another key tactic for gauging hydration levels. Proper hydration gives your dough a smooth surface, ensuring it ferments evenly and shapes well before baking.
Overproofing Your Dough
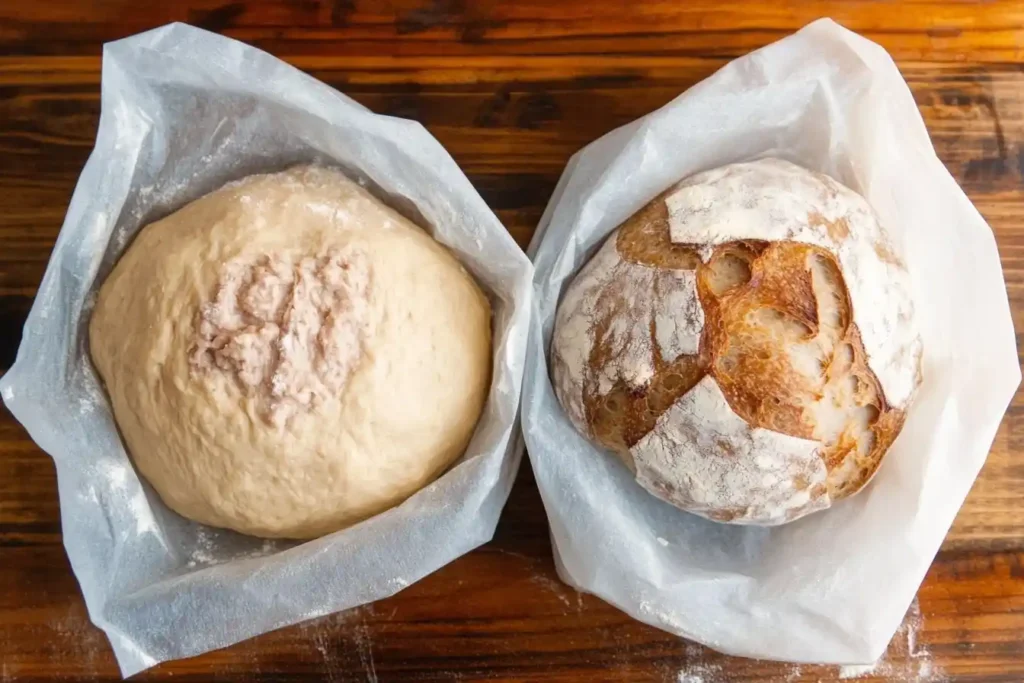
Overproofing is one of the easiest mistakes to make, especially for new bakers. Proofing refers to the stage where your dough rests, allowing yeast to produce gas and cause the dough to rise. However, leaving your dough for too long can cause it to overinflate and collapse, leading to disappointing results.
When assessing what not to do with sourdough, overproofing stands out. Overproofed dough often becomes sticky, loses its structure, and fails to hold air during baking. This leads to a flat, dense loaf instead of the airy and open crumb many bakers aspire to achieve.
To prevent overproofing, keep an eye on fermentation times and environmental factors like temperature. Warm environments accelerate proofing, while colder spaces slow it down. A simple poke test can help determine whether your dough is ready; if the dough springs back slowly, it’s appropriately proofed. Lastly, practice timing your proofing stages with precision to avoid unnecessary guesswork.

Using the Wrong Flour Types
Choosing the right flour can make or break your sourdough baking experience. Flour impacts not only the texture but also the flavor and overall loaf structure. One of the most common issues is using flour that lacks sufficient protein content, which is essential for gluten development in sourdough. Failing to use the proper flour can leave your dough weak and your end product dense.
Many beginners make the mistake of substituting bread flour with all-purpose flour without understanding how it affects hydration. Bread flour has a higher protein content and absorbs more water, which balances the dough. Additionally, using bleached flour, which lacks the enzymes required for fermentation, can hinder the growth of your sourdough starter and yield undesirable results.
For the best outcomes, always select unbleached, high-protein bread flour or whole wheat flour. These types of flour provide better yeast activity and more structure to your loaf. Experimenting with alternative flours, such as rye and spelt, can elevate your baking experience. However, such flours should be used in combination with bread flour rather than as standalone ingredients for beginners.
| Flour Type | Benefits for Sourdough |
|---|---|
| Bread Flour | High protein content (12-14%) creates strong gluten development, resulting in excellent structure and chewy texture. Perfect for traditional sourdough with large holes and crispy crust. |
| Whole Wheat | Rich in nutrients, fiber, and minerals. Produces denser loaves with nutty flavor. The bran and germ add complexity to taste and boost fermentation activity. |
| Rye | High in enzymes that boost fermentation. Creates dense, moist bread with complex flavors. Contains less gluten but unique pentosans that help with water absorption. |
| Spelt | Ancient grain with nutty, sweet flavor. Contains more protein than wheat but less gluten. Produces light, airy loaves and is often more digestible for some people. |
Neglecting Proper Dough Temperature
Without a doubt, the role of temperature in sourdough baking is often underestimated. More importantly, the dough temperature directly affects the rate of fermentation, flavor development, and texture of the final loaf. Consequently, if the temperature is too low, fermentation slows down, ultimately leading to bland and under-risen bread. Conversely, if it’s too high, you risk over-fermentation, which can result in a sour, gummy loaf.
One common mistake is failing to monitor the ambient temperature while fermenting. Cold kitchens during winter can cause sluggish fermentation, while hot summer days might shorten the process and over-proof your dough. Additionally, improper water temperature when mixing your dough can drastically impact the fermentation process.
To maintain the ideal dough temperature (around 75–78°F), consider these simple strategies:
- Use a thermometer to measure the temperature of your water before incorporating it into the dough.
- If your kitchen is too cold, use a proofing box or a warm spot like the top of your refrigerator.
- During very hot days, refrigerate your dough during bulk fermentation to slow the process.
By keeping a close eye on these factors, you’ll create an environment that promotes steady fermentation and a flavorful loaf. Remember, controlling temperature is one of the key solutions for ensuring success with your sourdough journey.
Improper Kneading and Folding Techniques
Kneading and folding might seem straightforward, but getting these techniques wrong is one of the major reasons sourdough fails. Without proper kneading, the gluten network doesn’t develop, which compromises the dough structure and leads to a dense loaf. On the other hand, aggressive kneading can overwork the dough and damage the delicate yeast activity.
The folding process, often done during bulk fermentation, is equally essential. Folding strengthens the gluten network and distributes the yeast evenly for a consistent rise. Many beginners either skip folding altogether or apply uneven pressure, which hinders dough development.
Here’s a guide to effective kneading and folding techniques:
- Use the “stretch and fold” method during fermentation to gently develop gluten without tearing the dough.
- Avoid over-kneading; stop as soon as the dough develops elasticity and passes the “windowpane test.”
- During folding, perform 2–4 folds at regular intervals over the bulk fermentation period.
These steps ensure that your dough is handled correctly, resulting in optimal texture and rise. If this seems complicated, don’t worry—technique improves with practice. Start with gentle, deliberate movements until you feel confident with each step.

Not Scoring the Dough Correctly
Scoring is not just an aesthetic choice; it’s a critical step in sourdough baking. Proper scoring allows the loaf to expand during baking, directing the steam in specific areas. However, omitting it or scoring incorrectly can lead to uneven crusts, misshaped loaves, or even blowouts (unwanted cracks in the crust).
Many bakers make the mistake of applying shallow or random scores. Shallow cuts prevent the dough from opening properly. Others may use the wrong tools, like a dull knife, which drags the dough instead of slicing cleanly. Also, timing matters—if you score too early or too late, it affects the dough’s behavior in the oven.
To perfect your scoring technique, keep these tips in mind:
- Use a sharp lame or razor blade to ensure clean, precise cuts.
- Make a bold, deep score at about a 45-degree angle—this helps control the direction of the loaf’s expansion.
- Be quick and confident with your movements to avoid dragging or deflating the dough.
Get creative once you’ve mastered the basics. Unique patterns can add a personal touch to your sourdough creations while maintaining functionality. Keep in mind that scoring is your chance to control your loaf’s final appearance—don’t skip this vital step!
Read more about common sourdough mistakes and solutions here.
Baking at Incorrect Temperatures
When learning what not to do with sourdough, baking at the wrong temperature is one of the most common and avoidable mistakes. Temperature plays a critical role in determining the crust, crumb, and overall structure of your sourdough bread. If your oven is too hot or too cold, your loaf may fail to rise properly, or worse, develop an unappealing texture.
Many bakers overlook the importance of preheating their ovens thoroughly. Without a properly preheated oven, the dough won’t see that wonderful “oven spring” that creates the open, airy texture sourdough is famous for. Additionally, failing to use an oven thermometer can lead to inaccurate temperature settings, since many ovens vary from the indicated dial temperature. Pay attention to consistent heat distribution for better results.
Mistakes with Oven Temperature Settings:
- Baking too low, resulting in a pale crust and dense texture.
- Overheating, causing burned crusts and undercooked interiors.
- Inconsistent temperature due to frequent door opening.
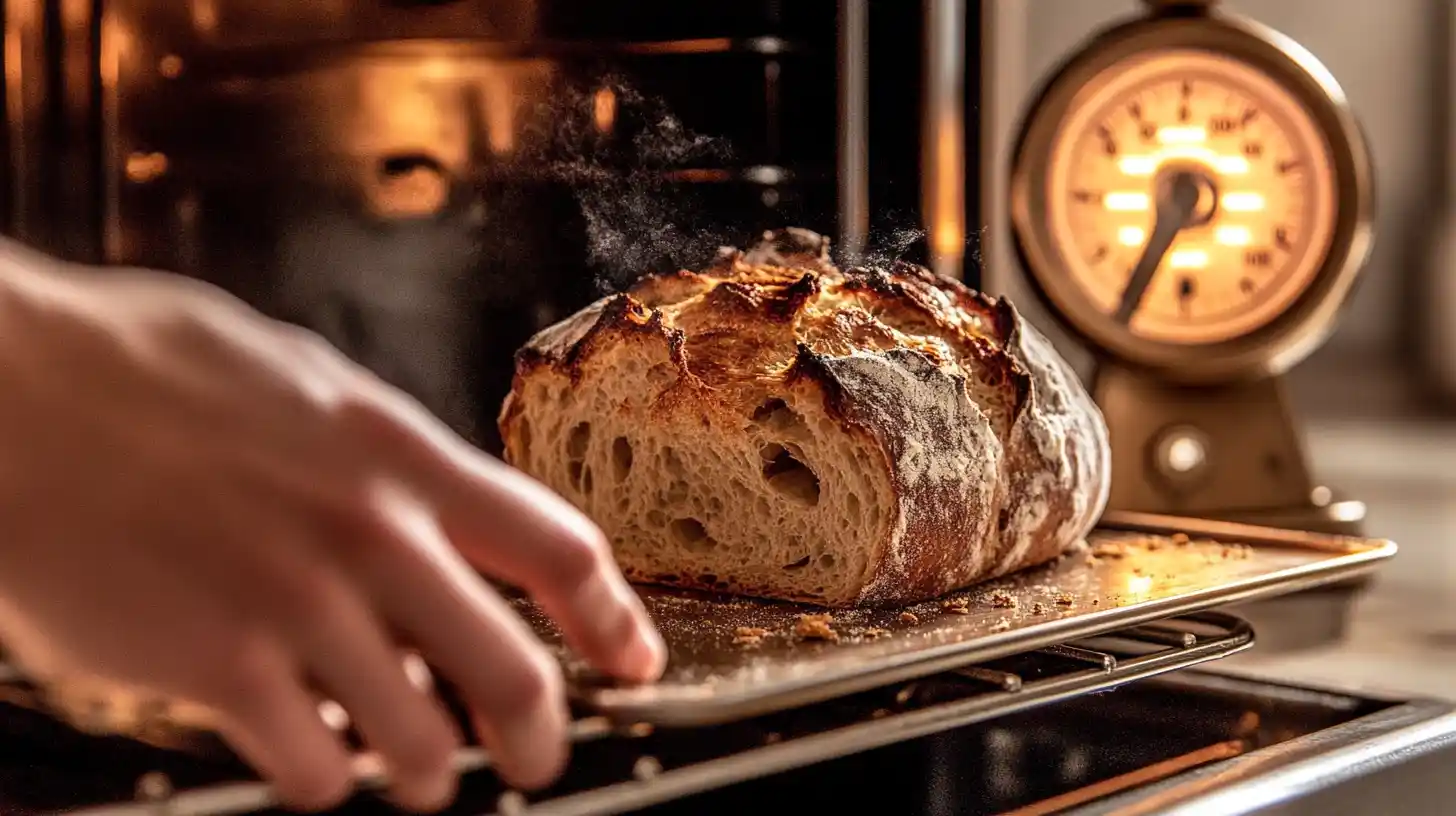
For success, aim for an initial high temperature, around 475°F (245°C), and reduce slightly after the first 15–20 minutes. Using a Dutch oven or steam environment can also help create the golden, crispy crust that’s a hallmark of great sourdough.
Interactive Tip: To monitor temperature variations across different ovens, create a simple temperature comparison table for your test bakes. Include your target oven temperature, the measured temperature with a thermometer, and the resulting bake outcomes.

Ignoring Environmental Factors
Environmental factors are often underestimated by home bakers, yet they play a substantial role in the success of your sourdough baking journey. Climate elements like humidity, altitude, and room temperature can all impact fermentation, proofing, and even the hydration stability of your dough.
In high-humidity environments, flour tends to absorb more moisture from the air, making your dough stickier and harder to handle. Conversely, in dry climates, the dough might lose moisture too quickly, affecting elasticity. Additionally, bakers at higher altitudes might find their sourdough ferments faster due to lower air pressure, leading to overproofing if not carefully monitored.
Common Environmental Mistakes:
- Failing to adjust hydration levels for humid or dry conditions.
- Not adapting proofing times for different room temperatures.
- Overlooking the impacts of altitude on fermentation speed.
To combat these challenges, aim to be flexible with your recipe and responsive to your environment. For example, you can lengthen or shorten fermenting periods depending on room temperature. Similarly, experiment with slightly different hydration percentages as needed to accommodate local conditions. By remaining adaptable, you’ll ensure baked bread consistency wherever you are.
Troubleshooting Common Issues
Even when you’ve avoided several pitfalls, sourdough baking can still present challenges. Successfully troubleshooting these issues is key to becoming a more confident sourdough baker. Understanding what not to do with sourdough and addressing common complaints helps improve your next loaves.
Gummy Crusts: A gummy or sticky crust is often the result of under-baking or excess hydration. Ensure you’re using the correct baking temperatures and allow the loaf to sit for at least 2 hours post-baking to set properly.
Poor Rise: This could stem from weak gluten development or overproofing during fermentation. Adjust kneading techniques or proofing times to encourage proper structure. Keep an eye on dough activity and adjust based on its response, not just the clock.
Overly Sour Flavor: Sourness is a signature of sourdough, but too much can overwhelm the palate. Over-fermentation or insufficient starter feedings may contribute to excessive sourness. Feed your starter regularly and refrigerate your dough overnight for a milder taste.
Create a troubleshooting table to reference solutions at a glance:
| Issue | Cause | Solution |
|---|---|---|
| Gummy Crust | Under-baking | Bake longer and cool fully before slicing. |
| Poor Rise | Weak gluten development | Knead dough more thoroughly. |
| Overly Sour Flavor | Over-fermentation | Reduce bulk fermentation time. |
Frequently Asked Questions (FAQ)
Breadmaking isn’t without questions, and sourdough baking is no exception. Here we answer some of the most common inquiries related to what not to do with sourdough.
From feeding starter inconsistently to overproofing, many factors can impact sourdough quality. Refer back to Sections 4–11 for detailed precautions.
Start by diagnosing the problem: Is it related to hydration, fermentation, or temperature? Once identified, use targeted troubleshooting solutions outlined in Section 11.
Absolutely. Overproofing occurs when the dough ferments too long, weakening its structure. To prevent this, maintain regular checks during fermentation.
Avoid rushing fermentation, neglecting dough hydration, and underbaking loaves. Planning and attention to detail help ensure perfect results.
For more inspiration, check these recipes:
– Sourdough Blueberry Muffins
– Sourdough Scones Recipe
Becoming a masterful sourdough baker takes time, patience, and a willingness to learn from your mistakes. Keep refining your techniques and enjoy the journey!

